Cheat Sheet
Start by getting your cheatsheet here!
You’ll find all the needed inDesign shortcuts here.
You’ll find all the needed inDesign shortcuts here.
New Project
Start a new project by Ctrl+N on Windows or Command+N on Mac or go to the File menu, select New, and then click on Document. This opens the New Document dialog box.

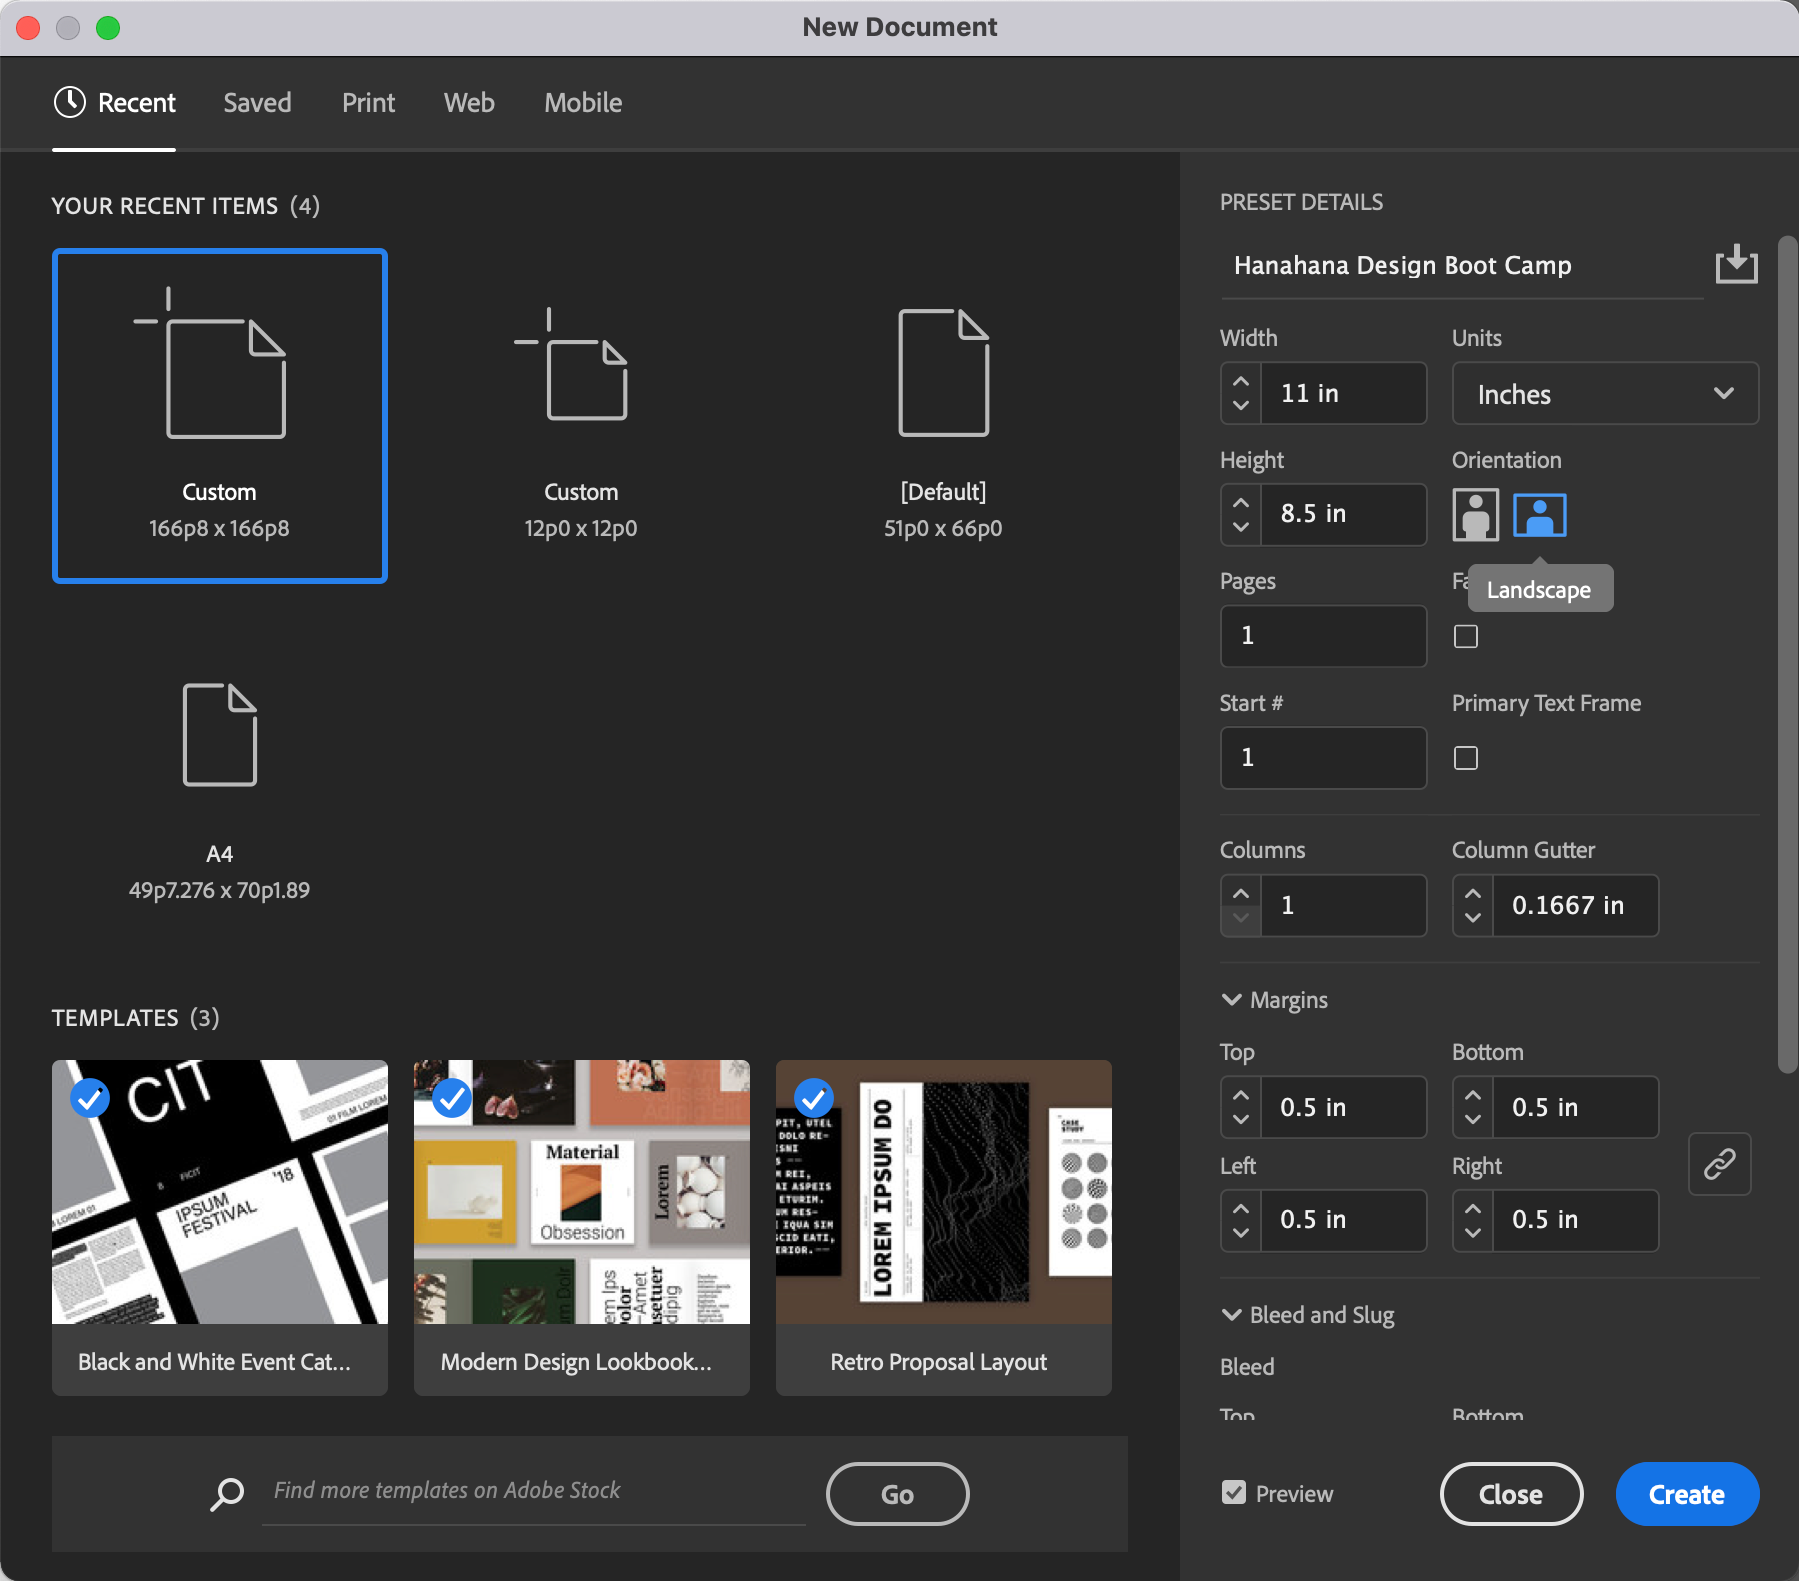
It helps to turn on the Preview checkbox in the lower left corner of the dialog box. This creates a preview of the document.
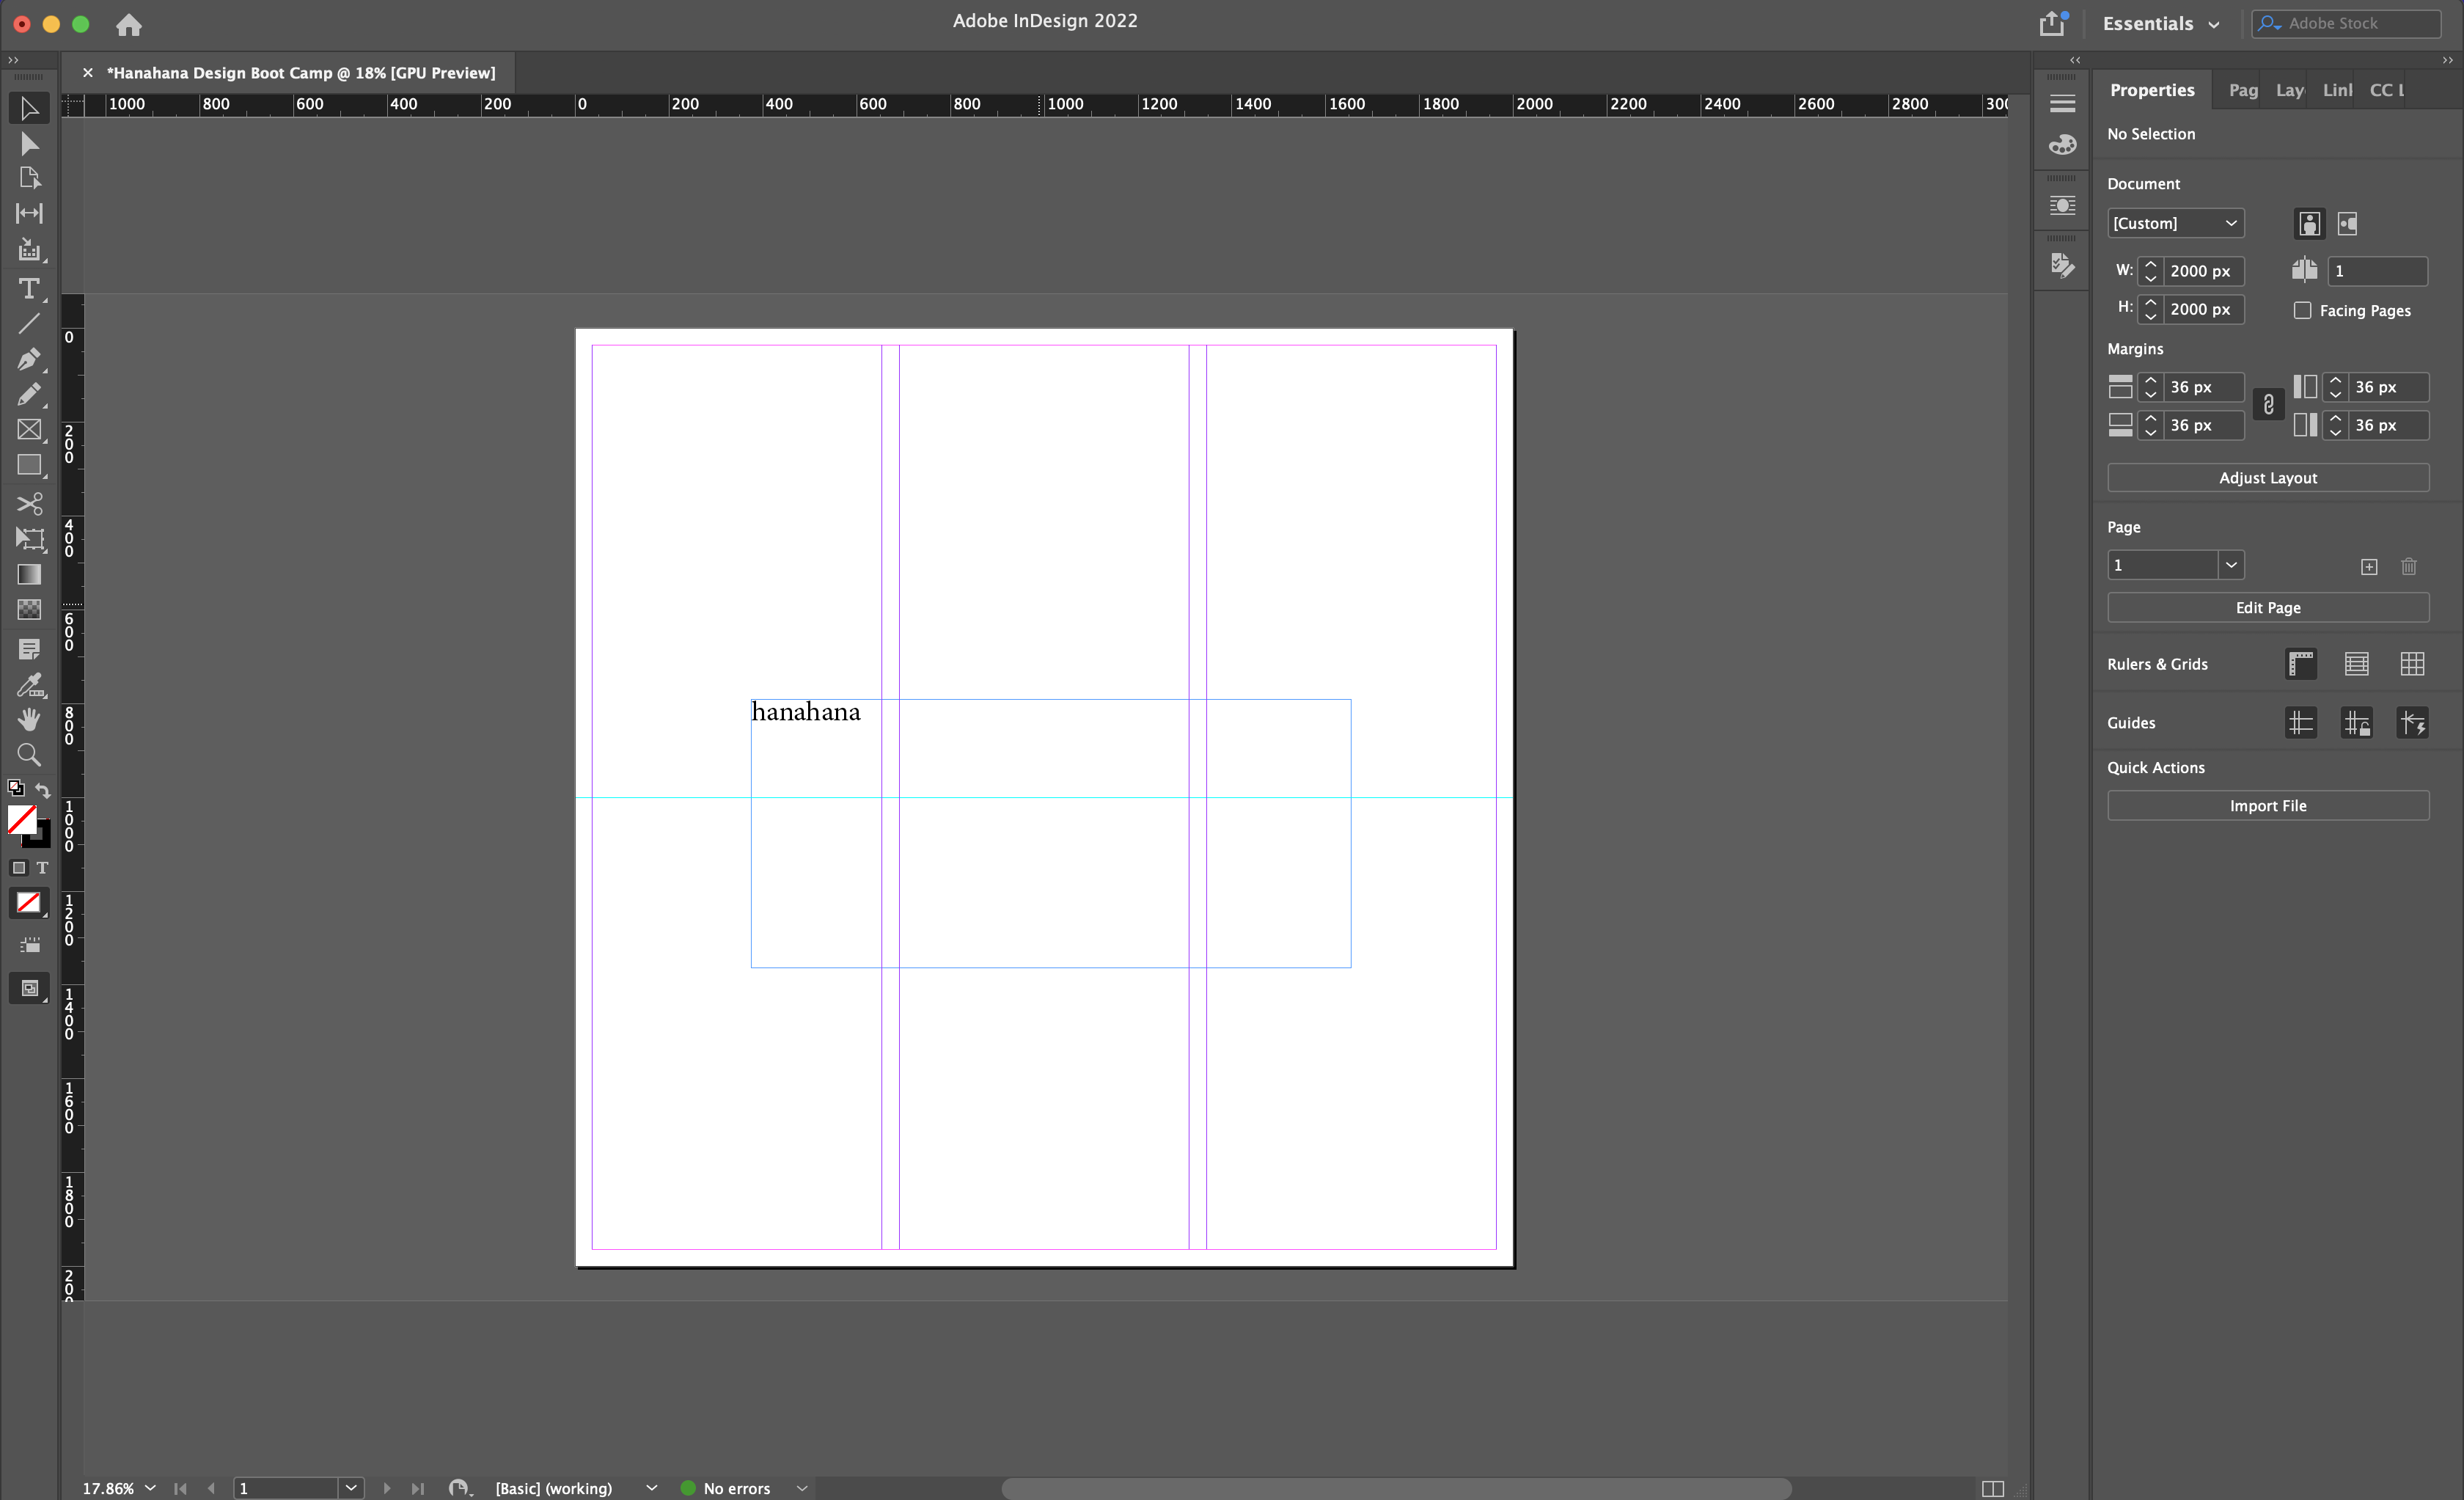
Your Workspace
Document Layout
Next, we will take a look at the blank document. This blank document was created using the default options in the New dialog box. We will be learning more about the New dialog box in the next chapter. If you observe closely, the blank document is surrounded by black borders. That is the limit of the printed page.
Toolbar
The Toolbar which is usually to the left of the main workspace contains all the tools required to work with the document. It has the selection tools, the text tools, eyedropper tools, etc.
The Toolbar which is usually to the left of the main workspace contains all the tools required to work with the document. It has the selection tools, the text tools, eyedropper tools, etc.

Panels Bar
The Toolbar which is usually to the left of the main workspace contains all the tools required to work with the document. It has the selection tools, the text tools, eyedropper tools, etc.
Project Layout
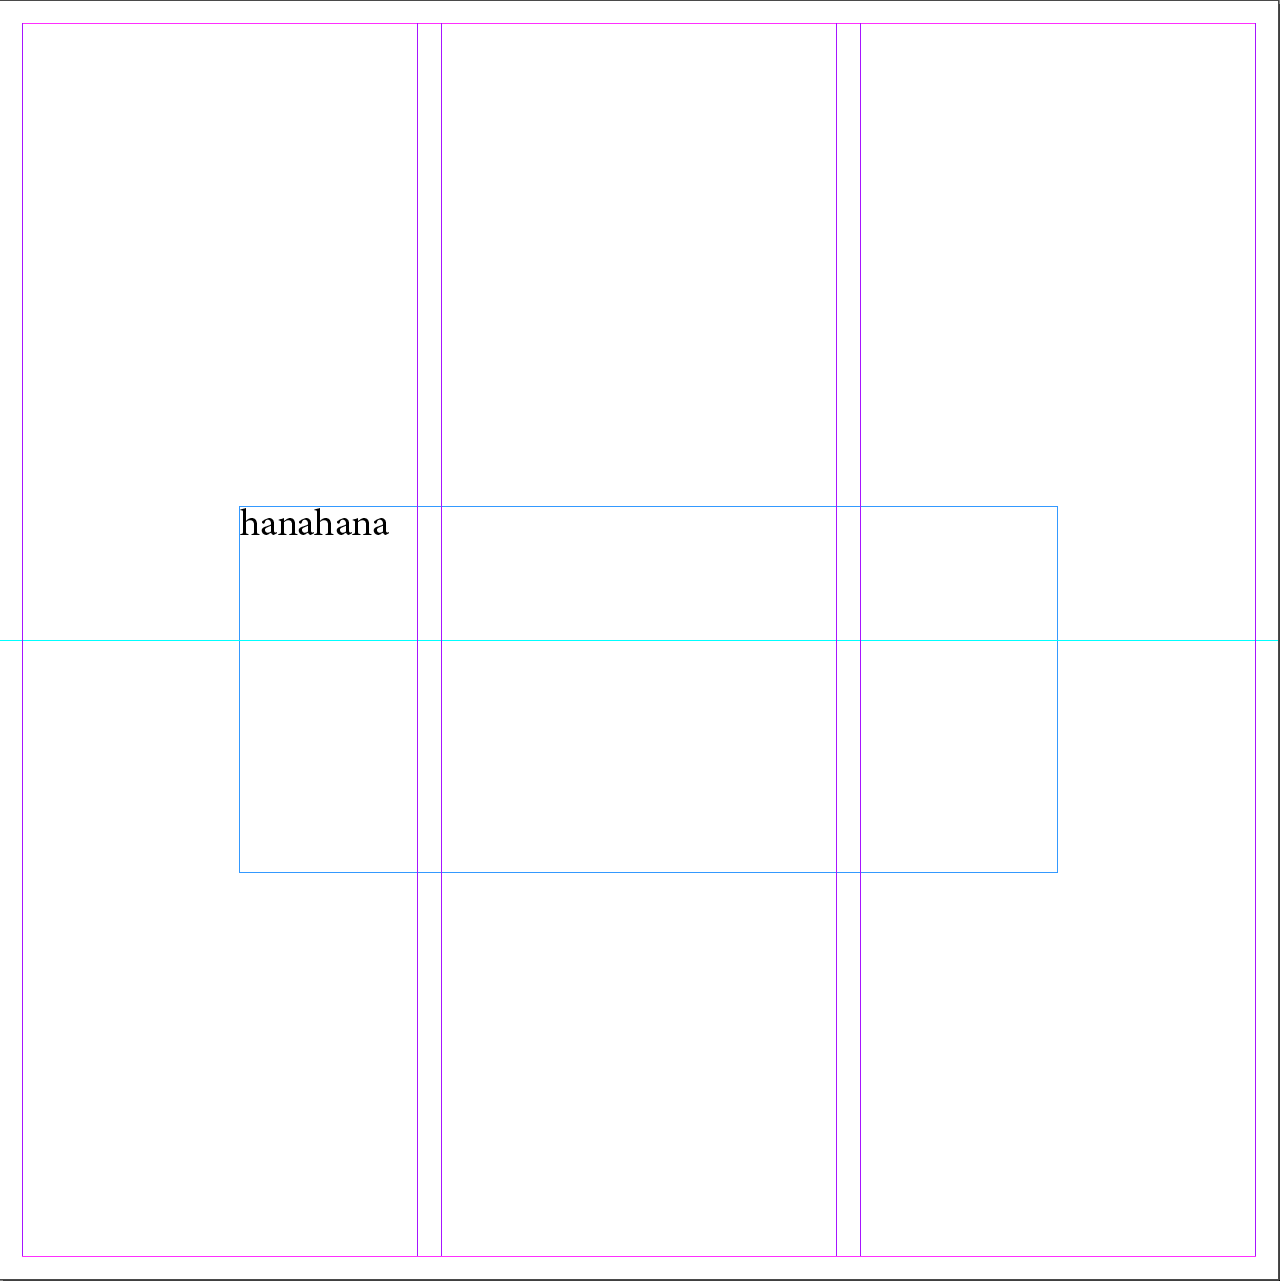
Dividing Your Page
Quite often, breaking up your page before working makes it more simple to start working. It also makes it easier to work with a fixed grid or not for your project. This is particularly important when you’re working with text.


Formatting Text
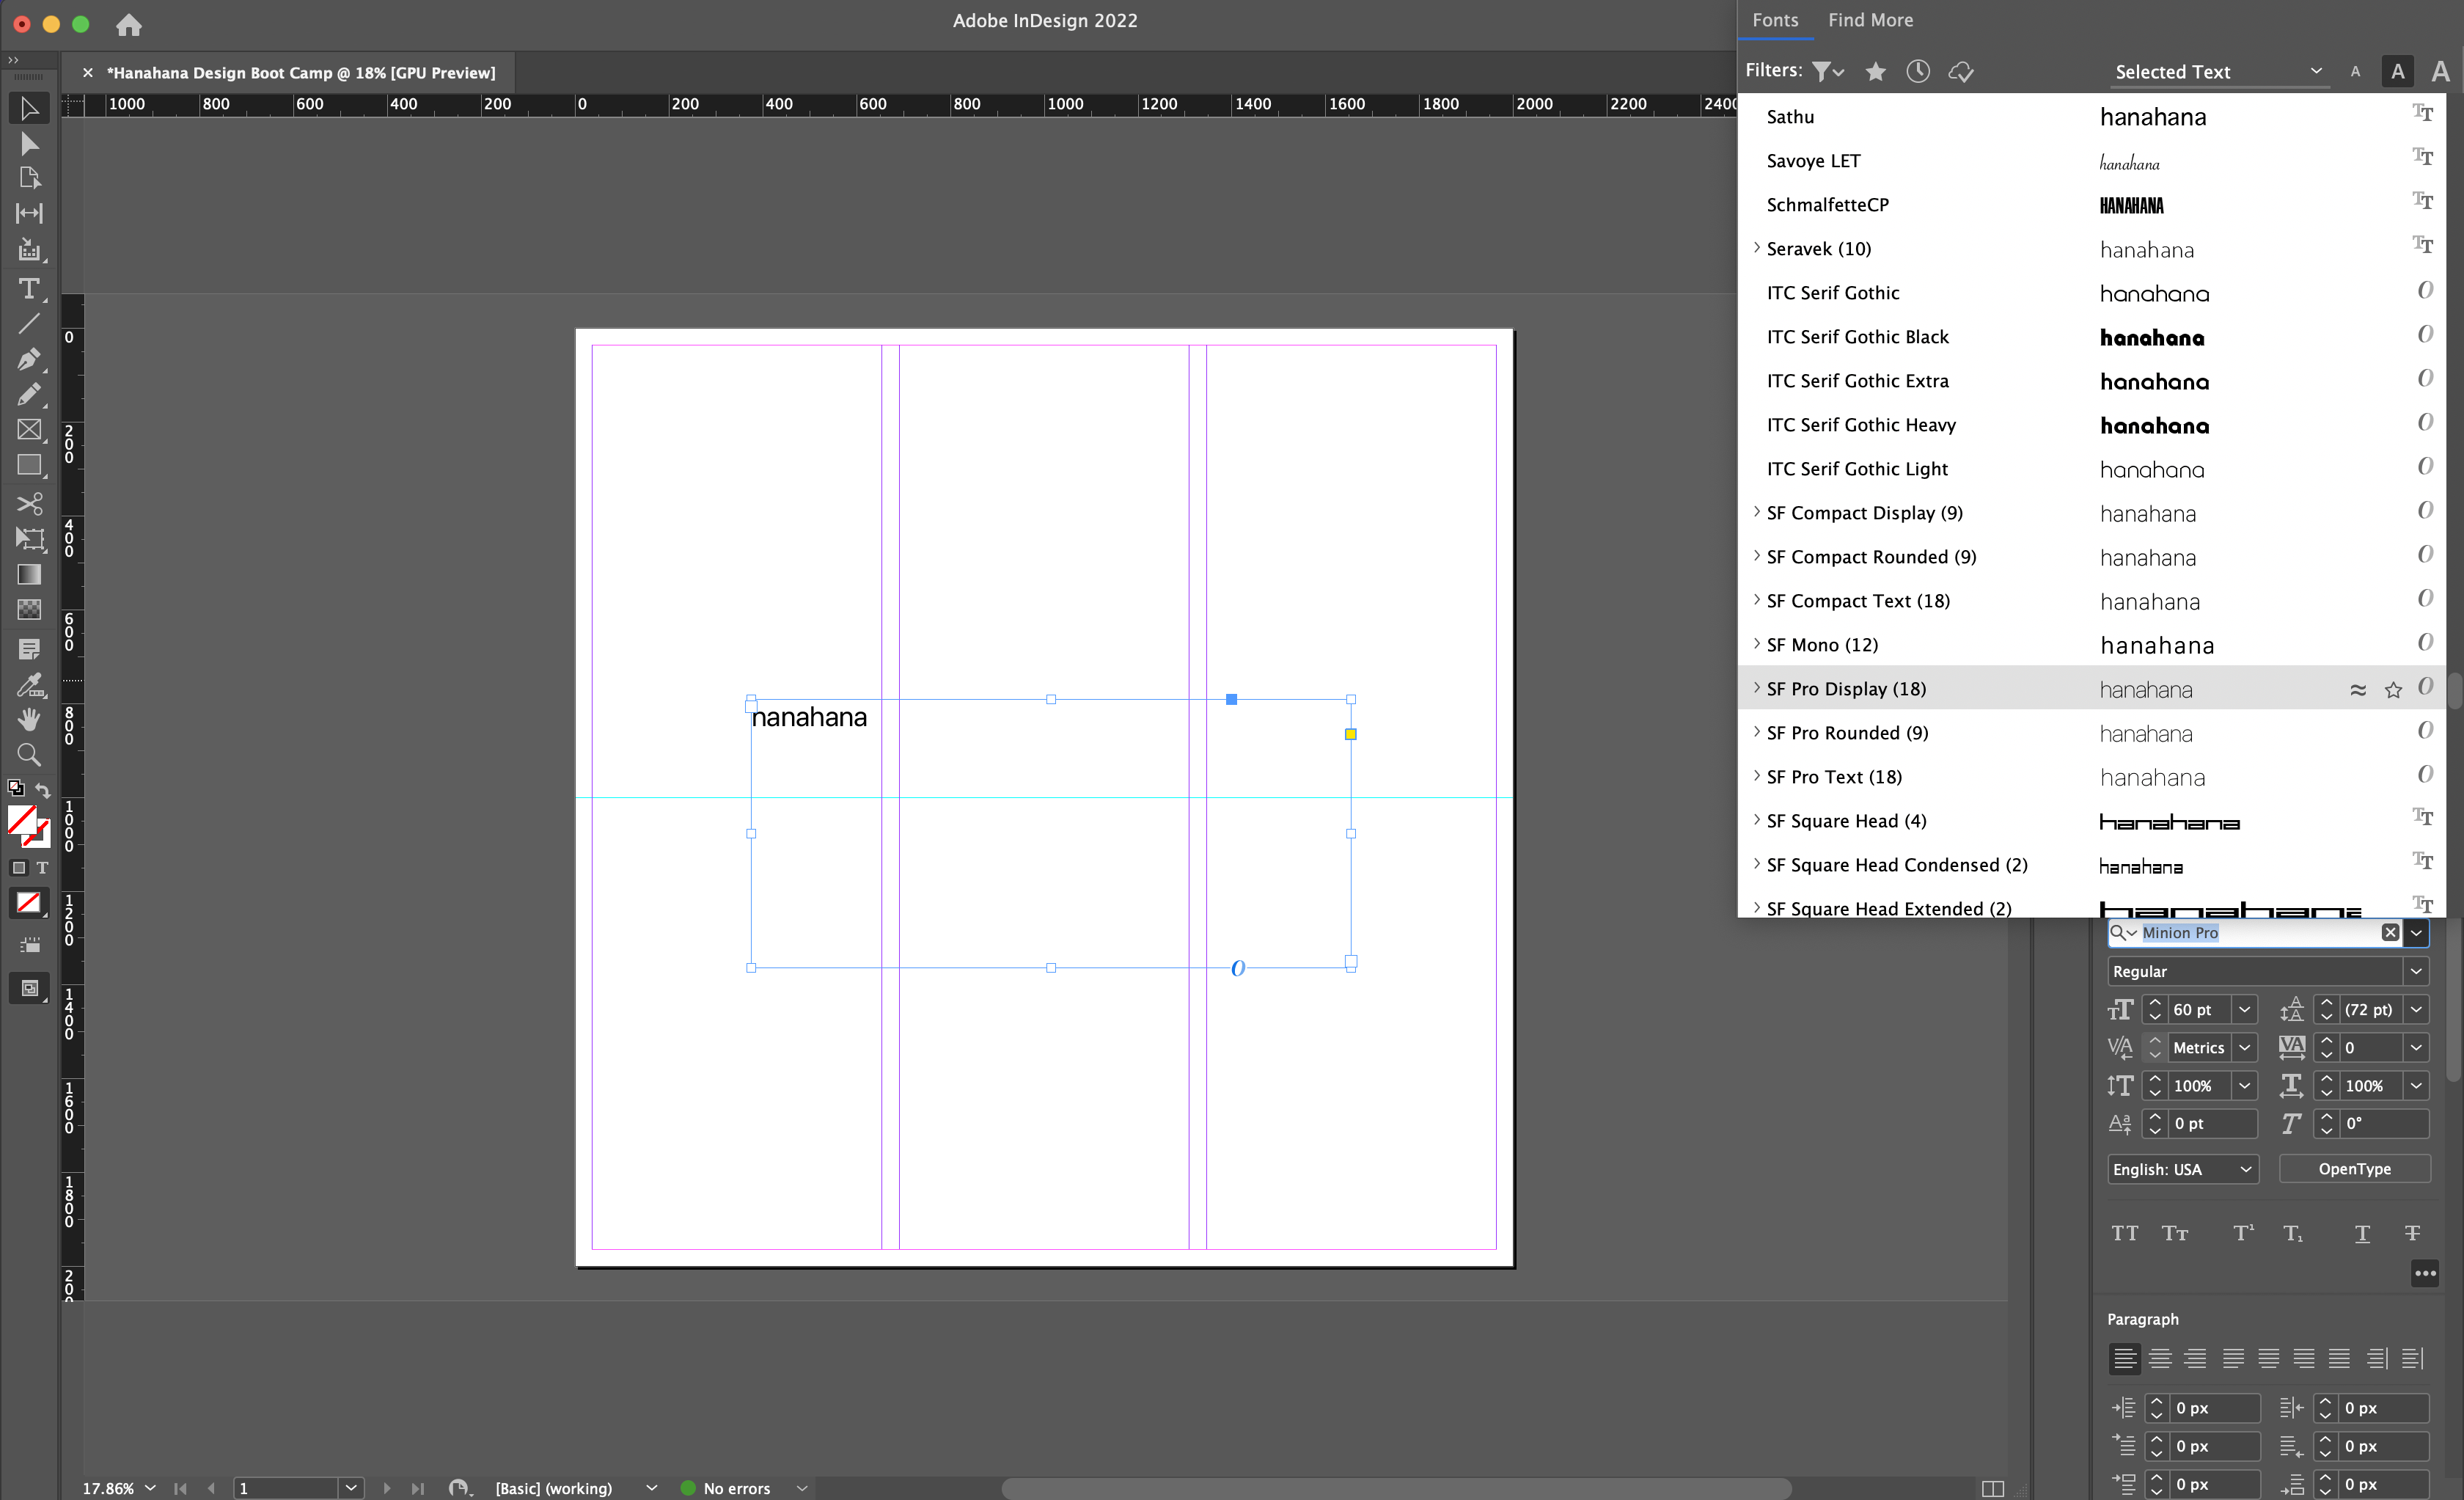
Changing the Typeface
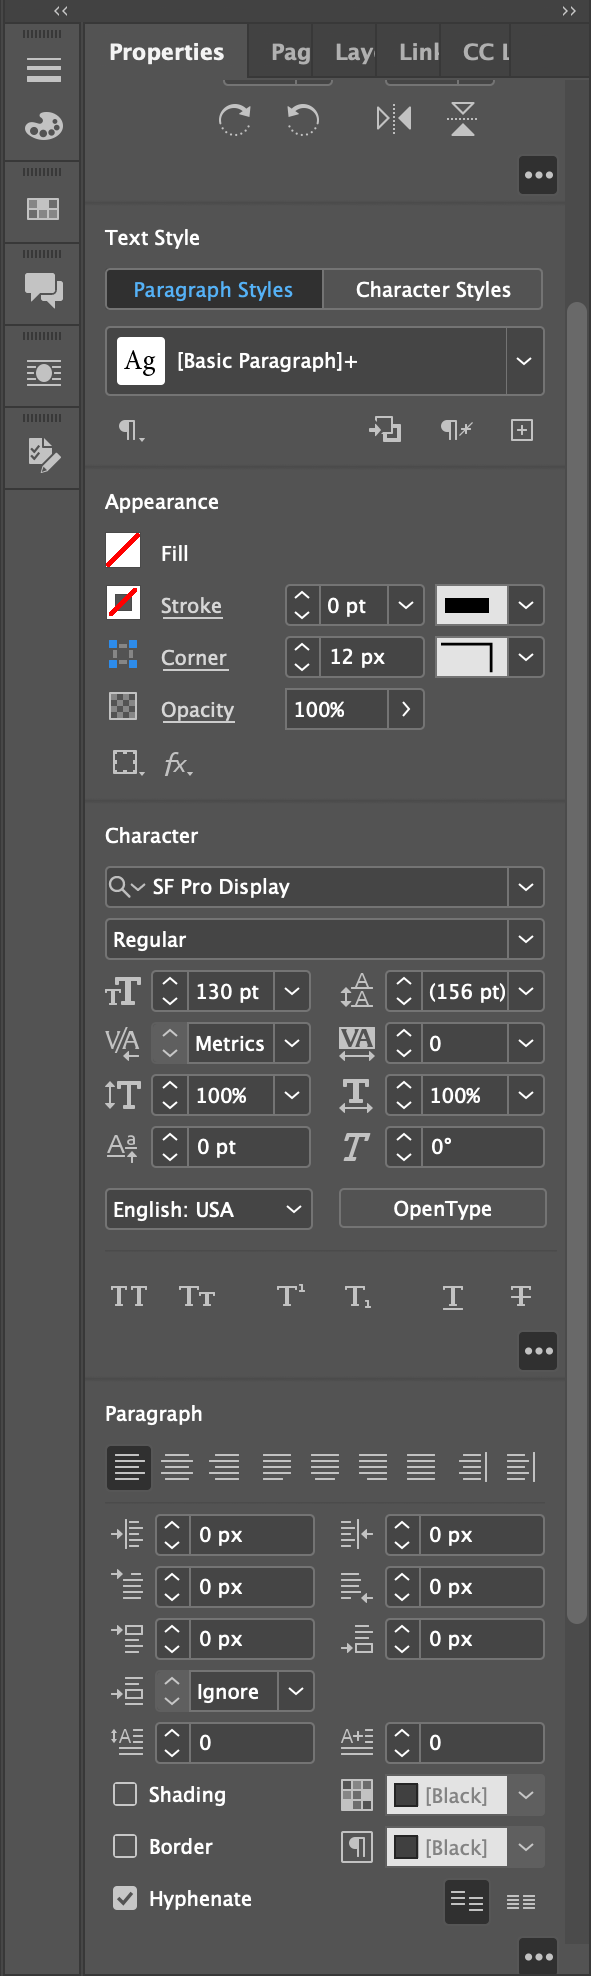
Once your text is added to your document, you’ll probably want to adjust the design. On Indesign you can control things such as font, size, and color.
To change the character style:
- Chenge the font by going to your Panels Bar > Character
- Select your desired font from the dropdown menu
- Change the size by adjusting the value below the font style
- Most text formatting elements will be found under the tabs: “Character” (for fonts, size, and spacing) and “Appearance” (for text color).